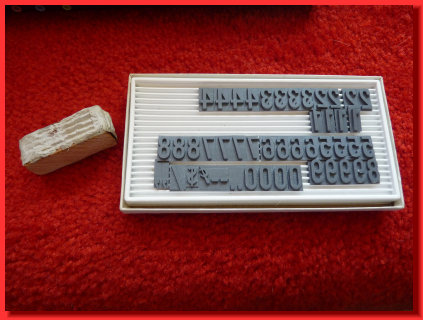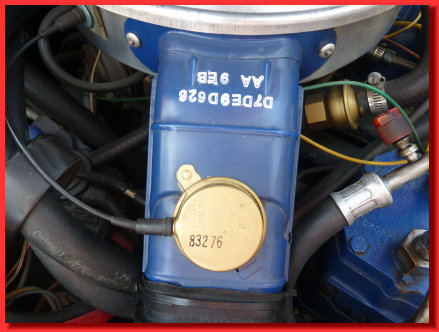
On the air cleaner I used the individual 5/16" stampers that I bought.
After writing out what you will be putting on the snorkle,
clean the area same as before.
Mine had these numbers on it: "D7DE9D629"
and "AA 9EB" on the second row.
I made a jig by taping a piece of wood to the cleaner.
this is so I would make a straighter row.
After writing out what you will be putting on the snorkle,
clean the area same as before.
Mine had these numbers on it: "D7DE9D629"
and "AA 9EB" on the second row.
I made a jig by taping a piece of wood to the cleaner.
this is so I would make a straighter row.
I did the second row first starting with the outside characters for each of the two groupings. Ink the stamper and put it up against the jig, or freehand or however you decide to do this. Press straight down.
Don't wobble the stamper or the inked corner will leave a mark.
Take those marks off with a Q-tip dipped in water.
Don't wobble the stamper or the inked corner will leave a mark.
Take those marks off with a Q-tip dipped in water.
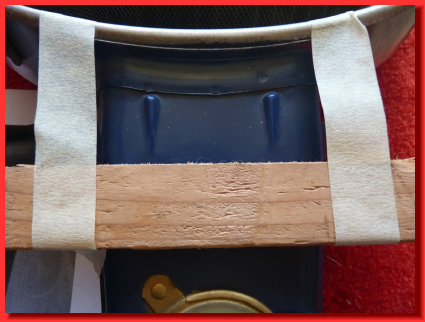
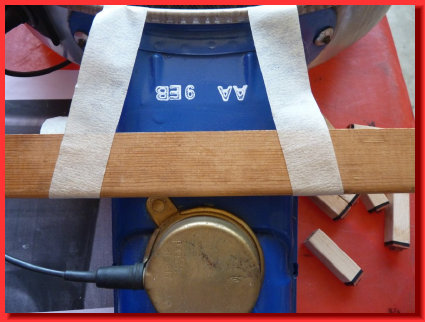
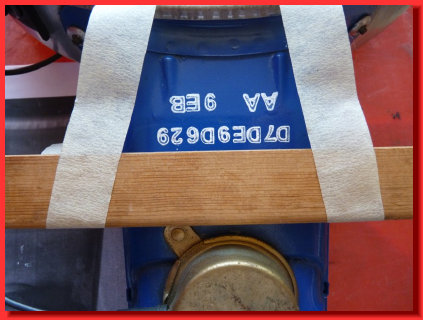
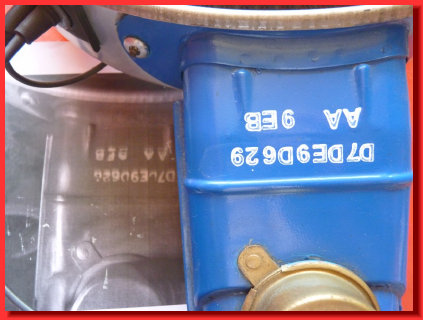
Do the same for the motor lift bracket using the 1/2" numbers.
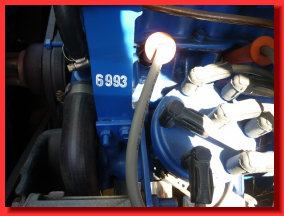
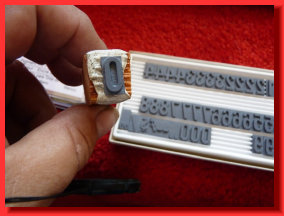
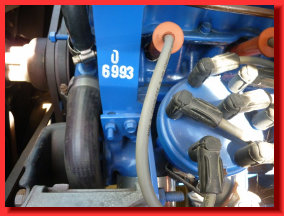
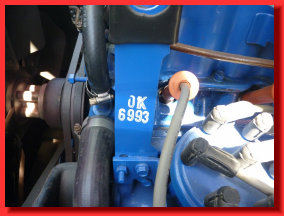
Look carefully where you are stamping. I overlapped the edge of the stamper over the last stamped character 1/8" to make them grouped tighter.
If you make a mistake, wipe the whole thing off and try again.
Move the jig for the top line of the part number
Choose the character that is in the center of the part number.
Ink the stamper and position it in the center of the area.
Then choose the character that goes next to it working outwards.
If you make a mistake, wipe the whole thing off and try again.
Move the jig for the top line of the part number
Choose the character that is in the center of the part number.
Ink the stamper and position it in the center of the area.
Then choose the character that goes next to it working outwards.
But wait. seems like something is missing.
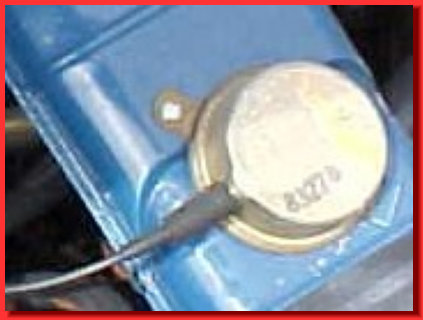
I found this in my folder of engine pictures.
I remember it being on my vacuum motor at one time.
So open up the small 1/4" numbers and put the numbers
83276 on the left side of the stamper.
This is so you don't accidentaly get excess ink on the motor.
I cover up the unused stamper part with paper when inking.
Ink the stamper with black ink.
Press the stamper to the motor.
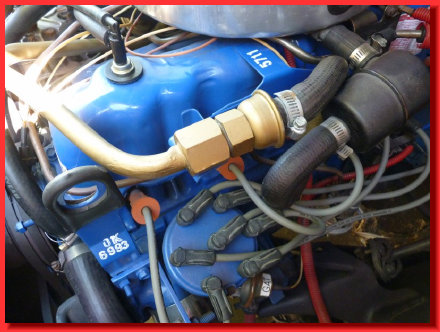
Now you are finished. Sit back and rake in the complements.
