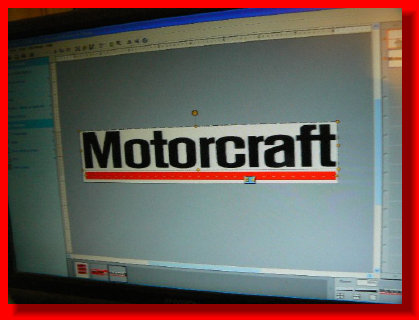
Design the sticker for the front.
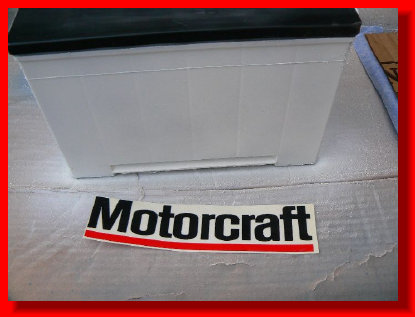
I measured my battery and it was 10" across, so I decided to make
it 8"x2".
Somewhere I saw one with a red line under it.
I measured my battery and it was 10" across, so I decided to make
it 8"x2".
Somewhere I saw one with a red line under it.
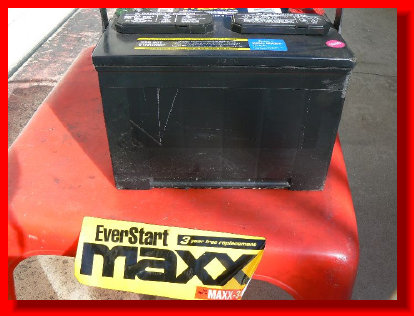
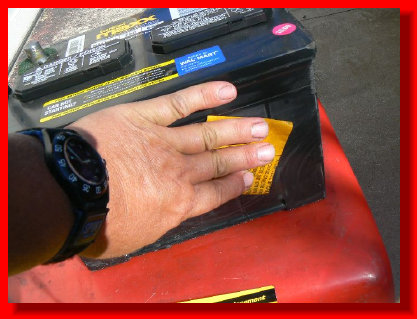
Peel the stickers off your battery.
I kept the old top one under my new one just in case I need the warranty.
Sand the lower parts of the battery that will be painted.
I kept the old top one under my new one just in case I need the warranty.
Sand the lower parts of the battery that will be painted.
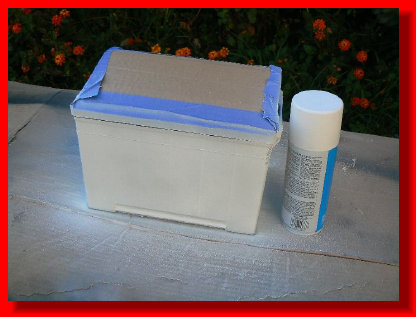
Mask off the top part of the battery.
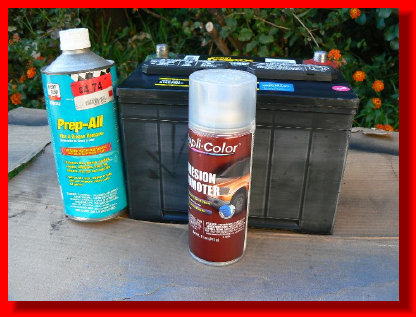
Clean the lower part with Prep-All, and spray with an adhesion promoter.
Paint the battery flat white.
Clean the lower part with Prep-All, and spray with an adhesion promoter.
Paint the battery flat white.
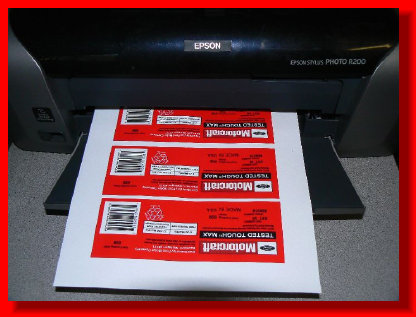
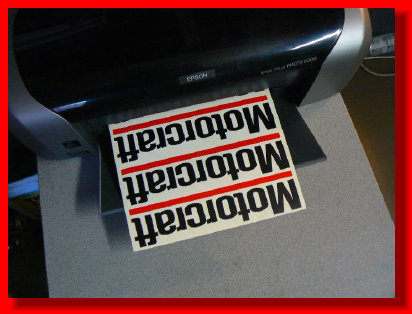
I printed the top one
on matte photo paper.
You could use white sticker
paper if you want and then cut
out the double faced tape step.
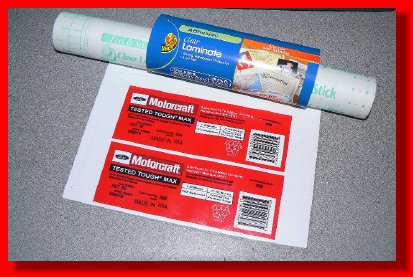
After the top sticker dries,
cover with a clear laminate
and cut to size.
I used "DuckŪ Laminate"
that I got at the Wal*Mart.
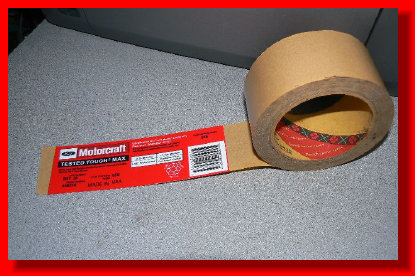
Then apply double faced
tape to the back.
While the paint is drying, go finish making your stickers!
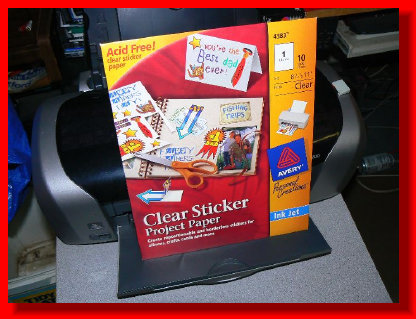
Print the front sticker on clear sticker project paper.
I bet you could just print it on white sticker paper and it would look just fine.
If you use the clear, let dry 4 hours before applying the clear laminate.
I bet you could just print it on white sticker paper and it would look just fine.
If you use the clear, let dry 4 hours before applying the clear laminate.
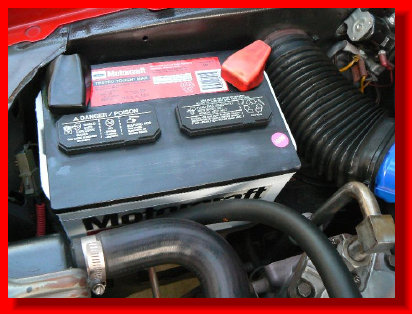
Cut the stickers to size and apply to your "New Motorcraft Battery".


Now if you prefer Autolite Batteries,
I have made one for those too!
I have made one for those too!


My s.com
MAKE YOUR OWN REPLICA "MOTORCRAFT BATTERY"
The way I did it is below, you can
change anything to fit your needs.
change anything to fit your needs.
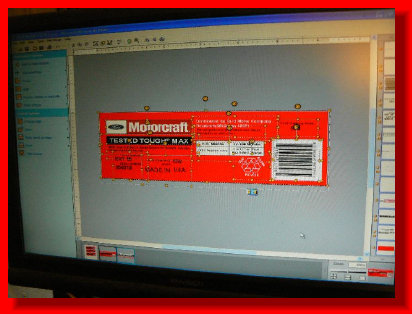
Design the top sticker.
The info on the sticker should pertain to your battery.
I was in a hurry and did not do this. I had no original sticker, so the wording on mine may be incorrect. I do not know what the UPC is to.
I measured the old sticker between the posts and mine was 6"x2".
The info on the sticker should pertain to your battery.
I was in a hurry and did not do this. I had no original sticker, so the wording on mine may be incorrect. I do not know what the UPC is to.
I measured the old sticker between the posts and mine was 6"x2".


